Add or Claim Your Business Listing on Apple Maps Business
Add or claim your business on Apple Maps Connect to get free visibility and start driving customers.
Step 1: Get To The Form
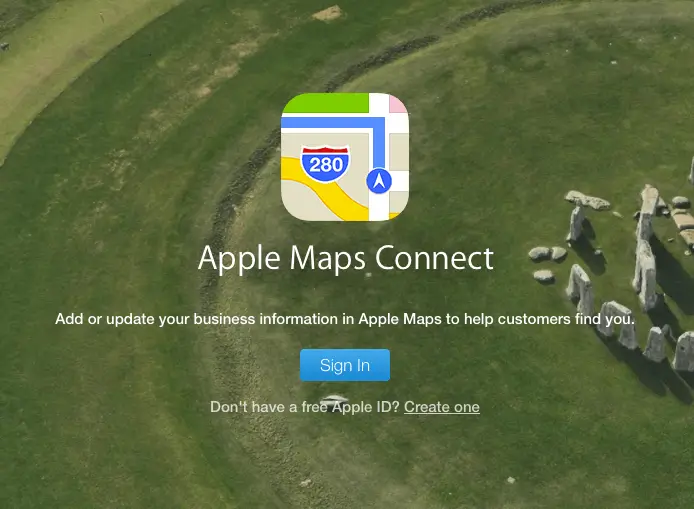
Visit the Apple Maps Connect page and sign in with your Apple ID. If you don’t have one yet, go ahead and create one by clicking on the Create One link below the blue Sign In button.
Step 2: Choose Language
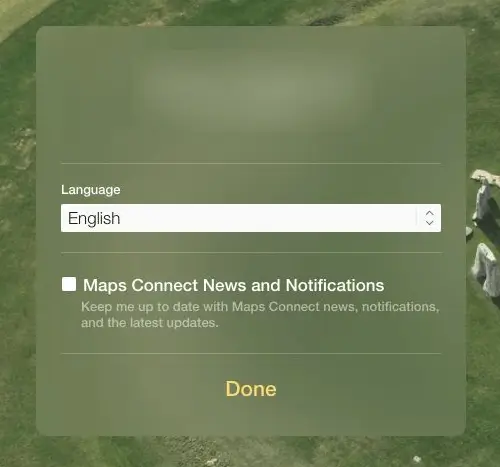
After signing in, you will be prompted to enter in your language of choice. Pick the one you’re comfortable with and click on Done.

Step 3: Choose your business
You will then see your business name pop up below. If you have a generic business name, you might see different businesses that have similar names. Choose your business and click on it to move forward. ( We’ve used pizza as an example)

Step 4: Claim your business
After clicking on your business, you will be presented with a box with your business information. Click on the blue “Claim this place” button present at the bottom to move on to the next step.
If you’re business doesn’t show up in the search results, do not panic. You can simply create a new business listing buy clicking on “Add new place” and follow the steps below.

Step 5: Enter business details
You will then be presented with fields for your business information and details that you can edit. Fill out the information correctly and click on
Next.

Step 6: Verify your business
You will then be asked to verify if this is your business. Apple will call you on the business phone number that you have provided.
After your verification is done, Apple will contact you and give your futher iformation about your claim. And that’s it! You’re done with claiming your Apple Maps listing.