How to schedule posts and stories on Meta Business Suite?
Learn how to effectively manage your social media presence on Meta Business Suite by scheduling your posts and stories. This step-by-step guide from Synup will show you how to schedule your content to go live at the perfect time, allowing you to engage with your audience and grow your business on this powerful social media platform.
Why is it important to schedule posts or stories on Meta Facebook?
Scheduling posts or stories on Meta Facebook can be an important aspect of your social media strategy for the following reasons:
- Consistency: Scheduling your posts or stories ensures that you are consistently sharing content with your audience, which can help you build a relationship with them and keep them engaged with your brand.
- Time management: By scheduling your posts or stories in advance, you can save time and avoid the need to constantly check your social media accounts throughout the day to post content.
- Reach: Scheduling posts or stories at optimal times can increase your reach and engagement with your audience. By posting when your audience is most active, you can maximize the visibility of your content.
- Organization: Scheduling your posts or stories can help you keep your social media content organized and on track with your marketing plan.
Step-by-Step Guide to Schedule Posts and Stories on Meta Business Suite
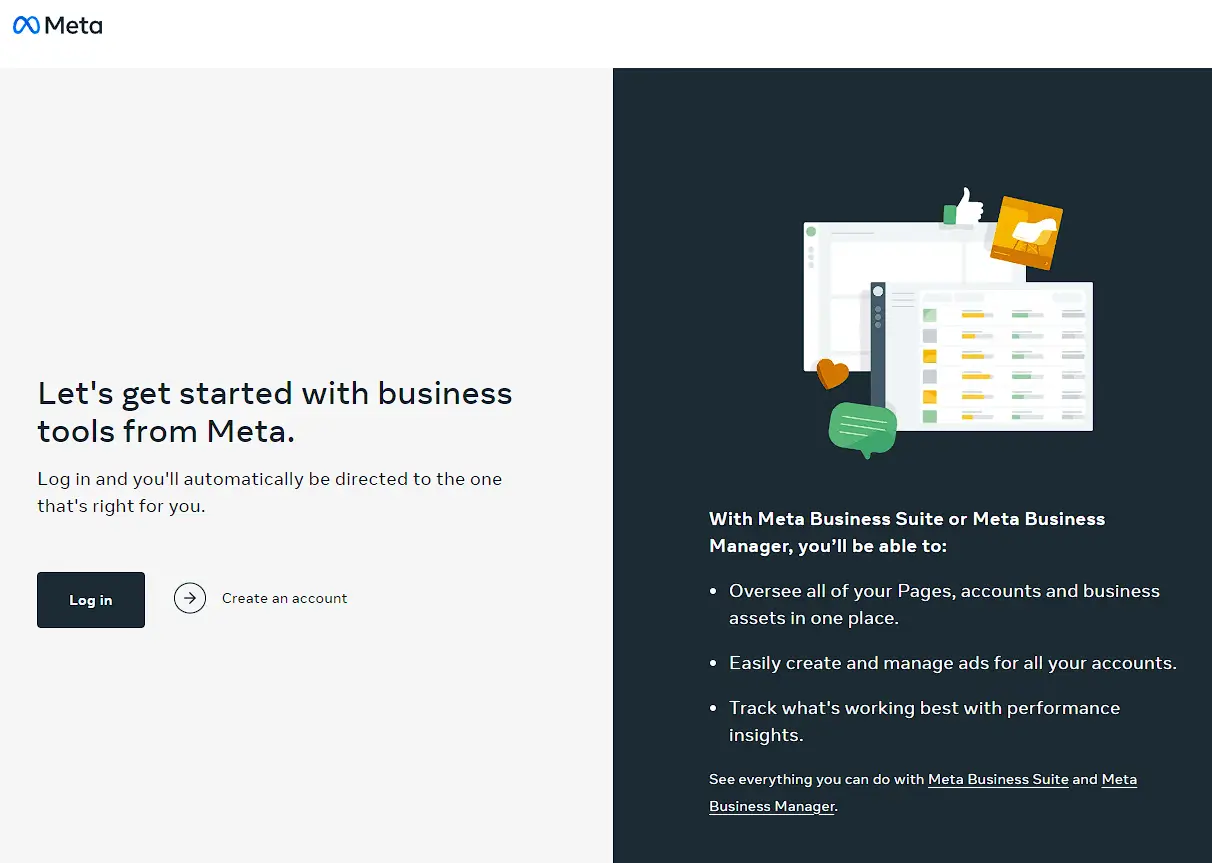
Step 1: Log in to your Meta Business Suite account (https://business.facebook.com). Enter your username and password.
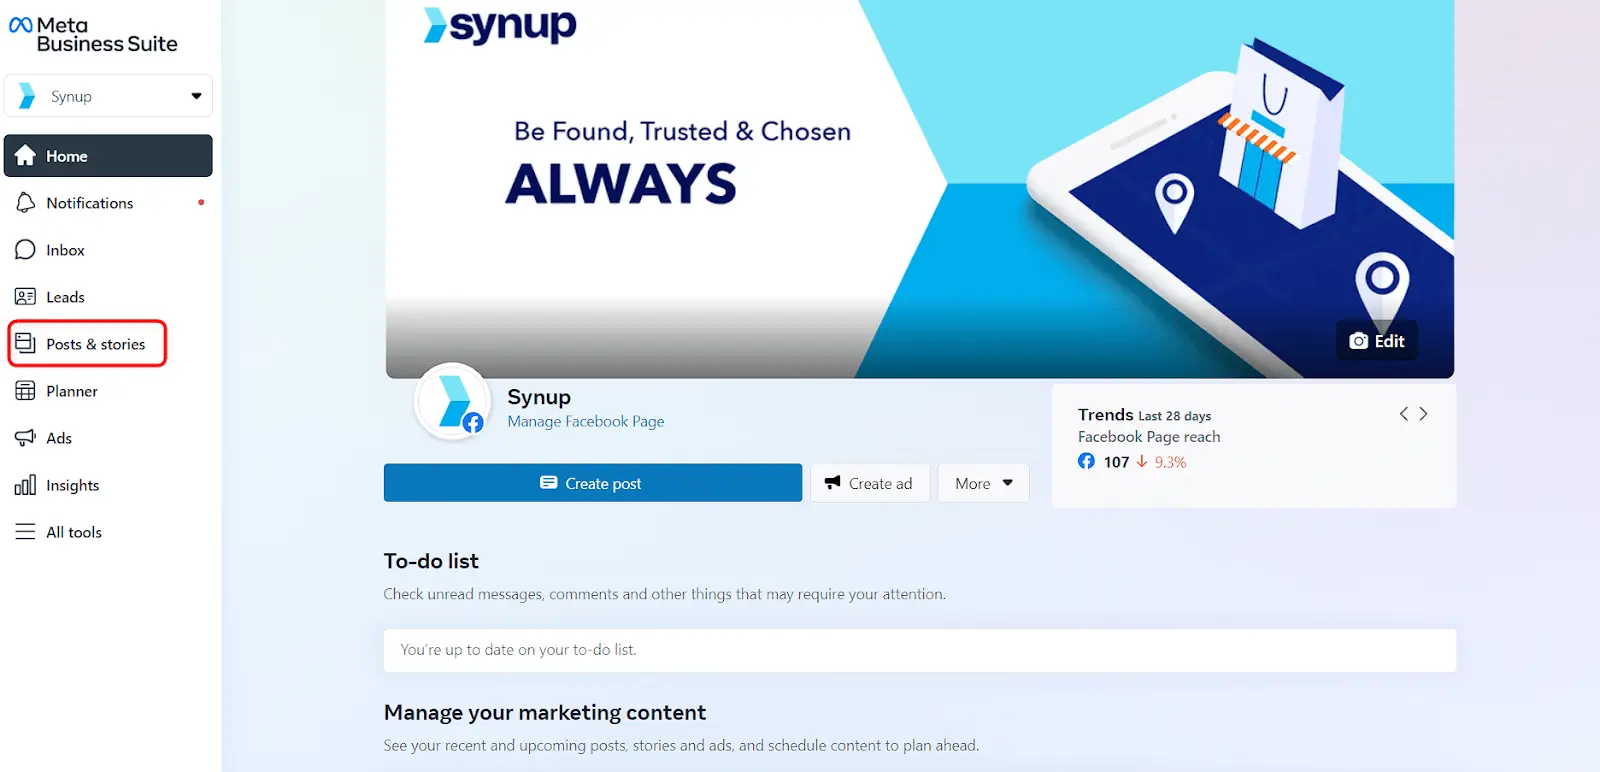
Step 2: Navigate to the “Post & Stories” option from the left menu.
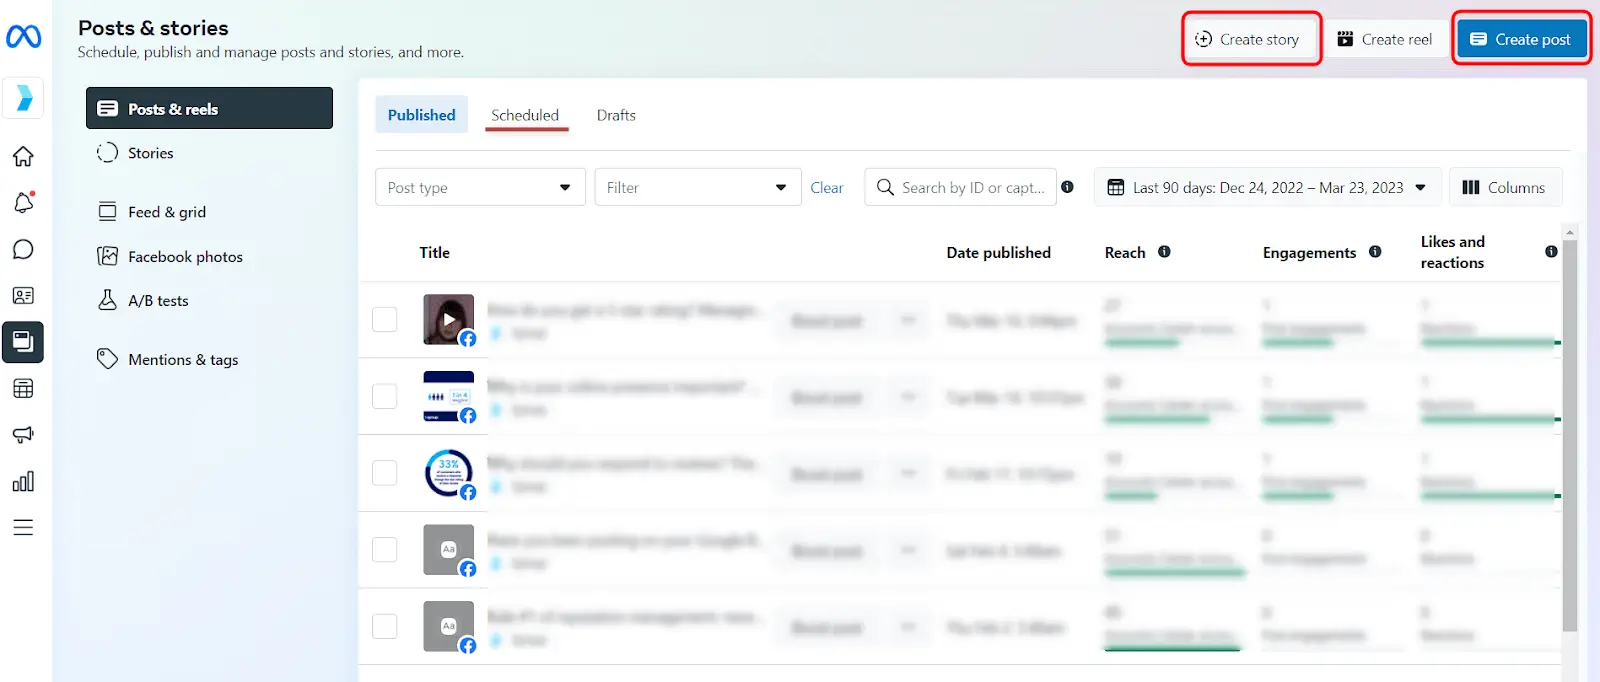
Step 3: Click on the "Create Post" or "Create Story" button to create a new post or story. You can also click on the "Schedule" button on an existing post or story to schedule it for a later time.
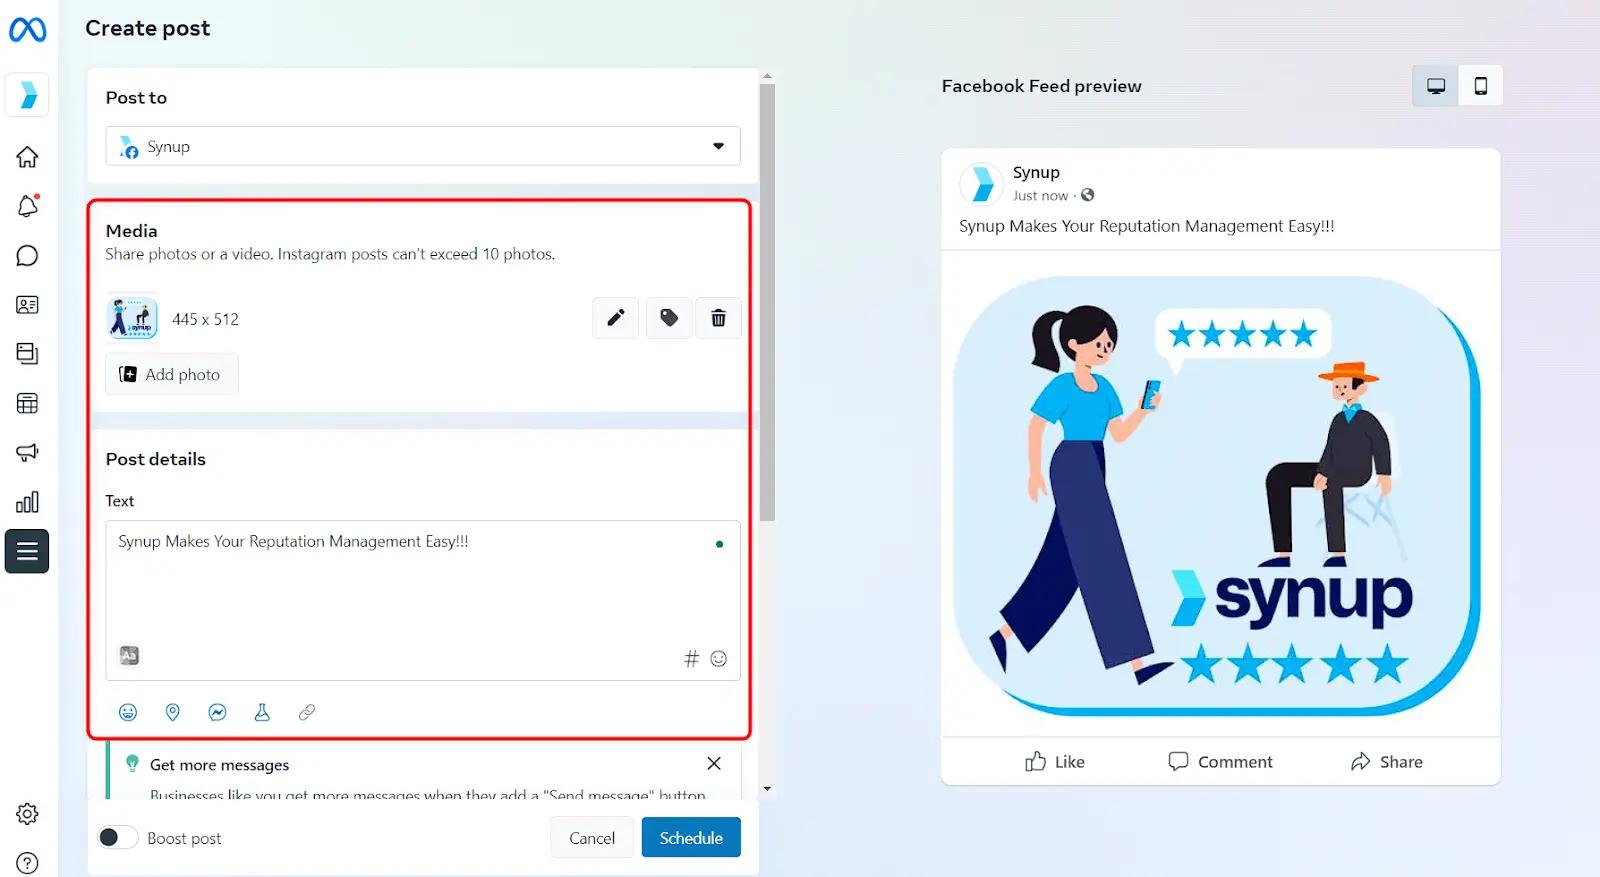
Step 4: Select the page you want to post on. If you manage multiple pages, select the page you want to post on from the drop-down menu.

Step 5: Add media to your post or story, such as photos, videos, or text. Write a caption for your post or story, making sure to include relevant hashtags and any necessary links.
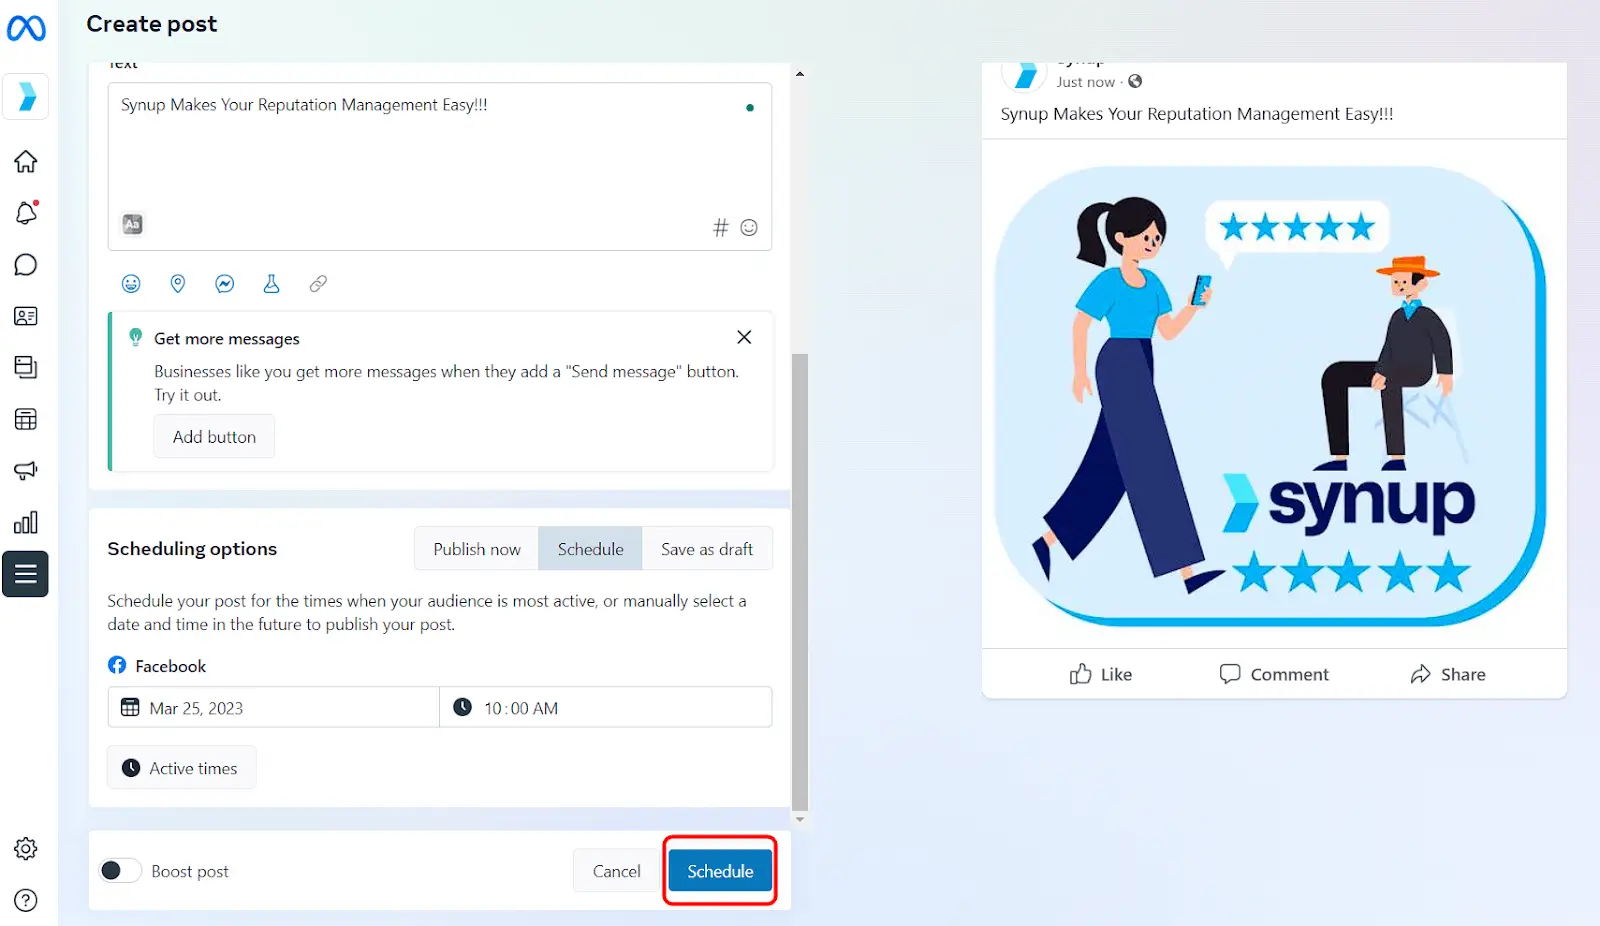
Step 6: Now, Click on the "Schedule" button and choose the date and time you want your post or story to be published. You can also choose to publish it immediately or save it as a draft.

Step 7: Click on the "Preview" button to see how your post or story will look once it's published. Make any necessary edits before scheduling it.

Step 8: Once you have previewed it. Click on the "Schedule" button to schedule your post or story. You can view all of your scheduled posts and stories in the "Publishing Tools" section of your Meta Business Suite account.
That's it! With these simple steps, you can schedule your posts and stories on Meta Business Suite and save time while ensuring that your content is being published consistently.
Are you looking to streamline your social media marketing efforts? Synup's social media management tool can help! With Synup, you can manage all of your social media accounts in one place, including Meta Business Suite. Easily schedule posts and stories in advance, track engagement, and analyze your social media performance to make data-driven decisions. With Synup's intuitive platform, you can save time and focus on what matters most - growing your business.