How to use Facebook Shops to sell your products locally
Learn how to leverage Facebook Shops to boost local sales and effectively market your products. Discover step-by-step instructions and expert tips to maximize your success.
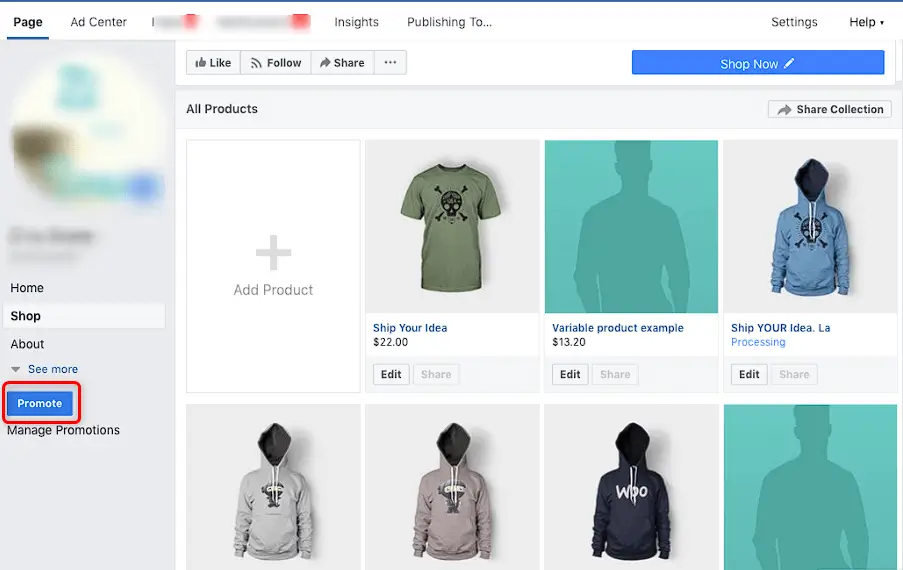
Facebook Shops is a feature on Facebook and Instagram that helps local businesses sell their products online. It's a way for businesses to create their own online store on these platforms and get their products in front of potential buyers.
Here are the five important points about Facebook Shops and their benefits for local businesses:
- Increased visibility
- Seamless shopping experience
- Customization and branding
- Improved product discovery
- Direct communication and customer service
Step-by-step guide on how to create an facebook shop and sell your products local customers:
Step 1: Create a Facebook Page for your business
If you don't have a Facebook Page for your business yet, go to Facebook.com and make one. Fill in all the necessary information, including a clear profile picture and cover photo.
Step 2: Access the Commerce Manager
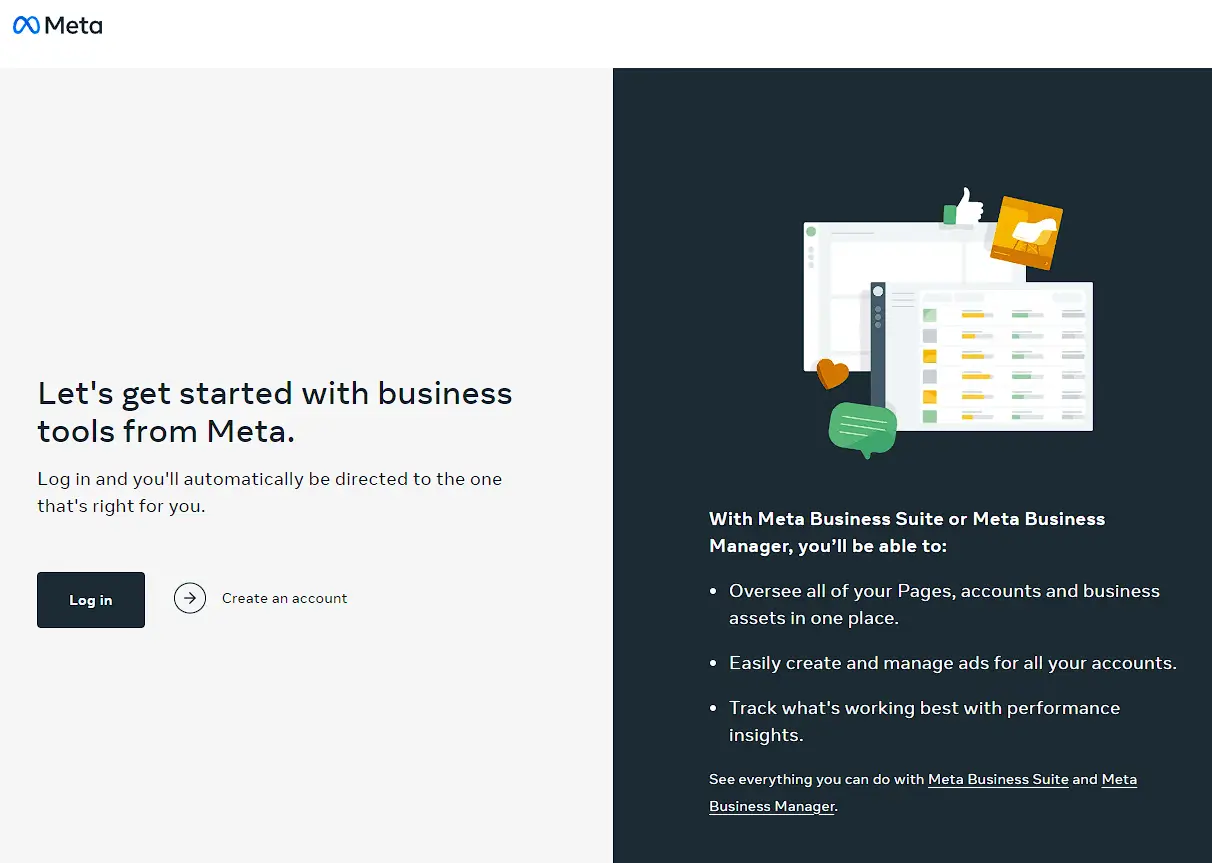
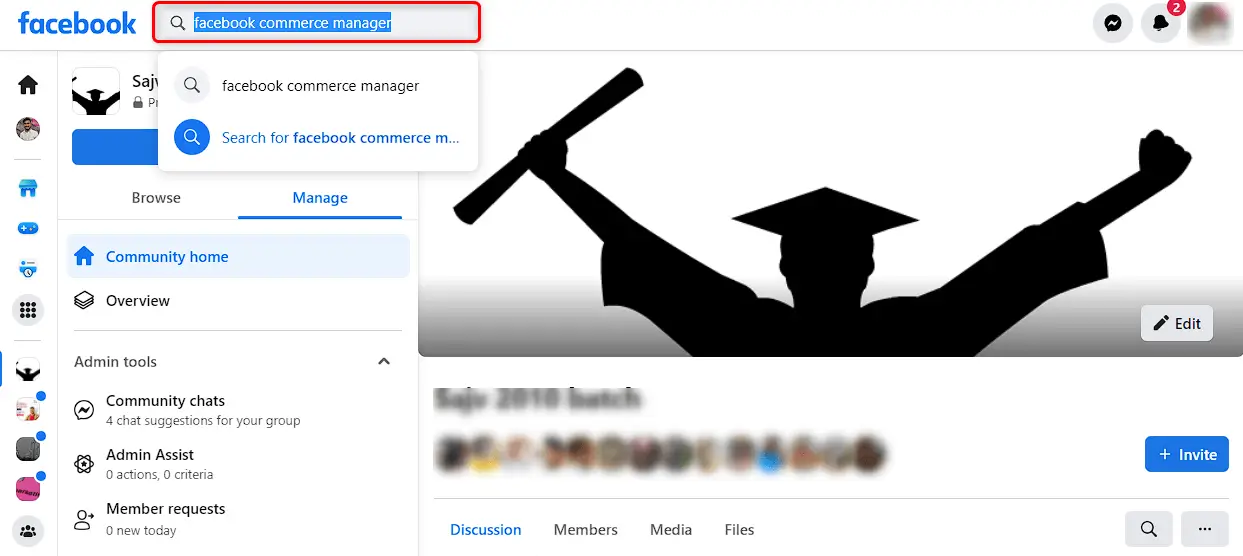
Go to the Commerce Manager section on Facebook. You can find it by searching for "Facebook Commerce Manager" in the Facebook search bar or by visiting business.facebook.com/commerce_manager.
Step 3: Set up your Commerce Manager account
If you haven't already, follow the instructions to set up your Commerce Manager account. You might need to provide more details about your business and agree to Facebook's terms and policies.
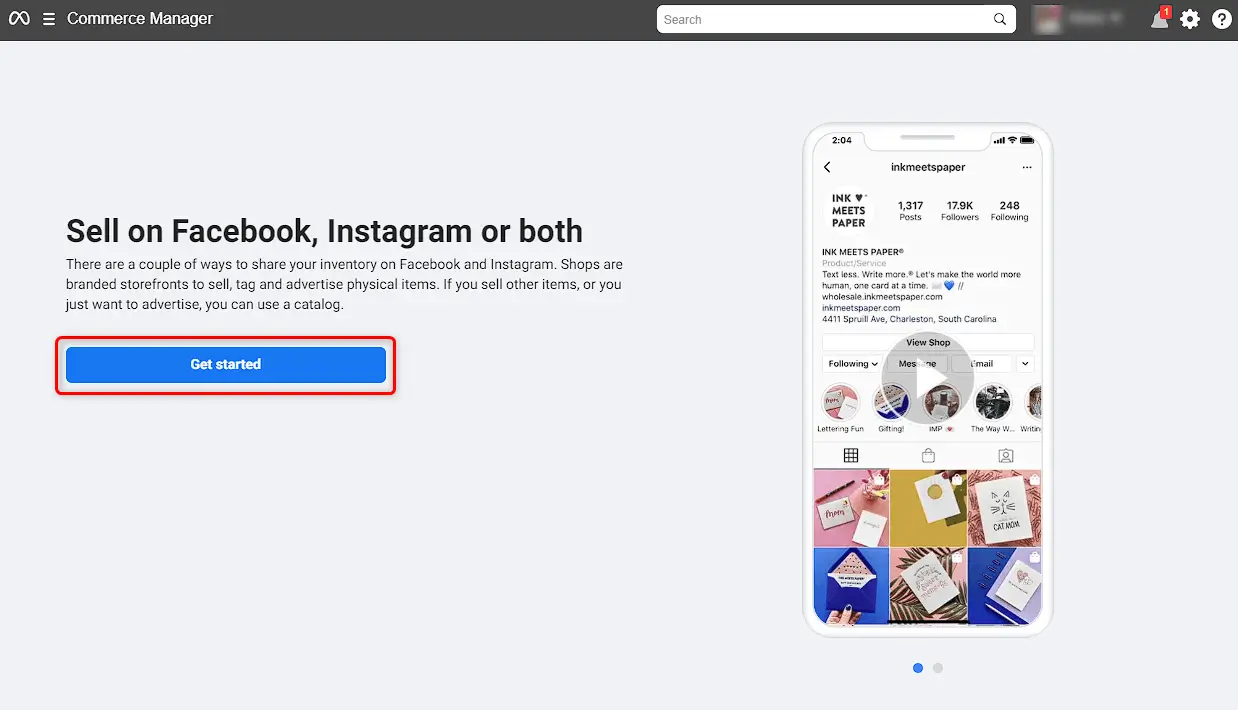
Step 4: Create your Facebook Shop
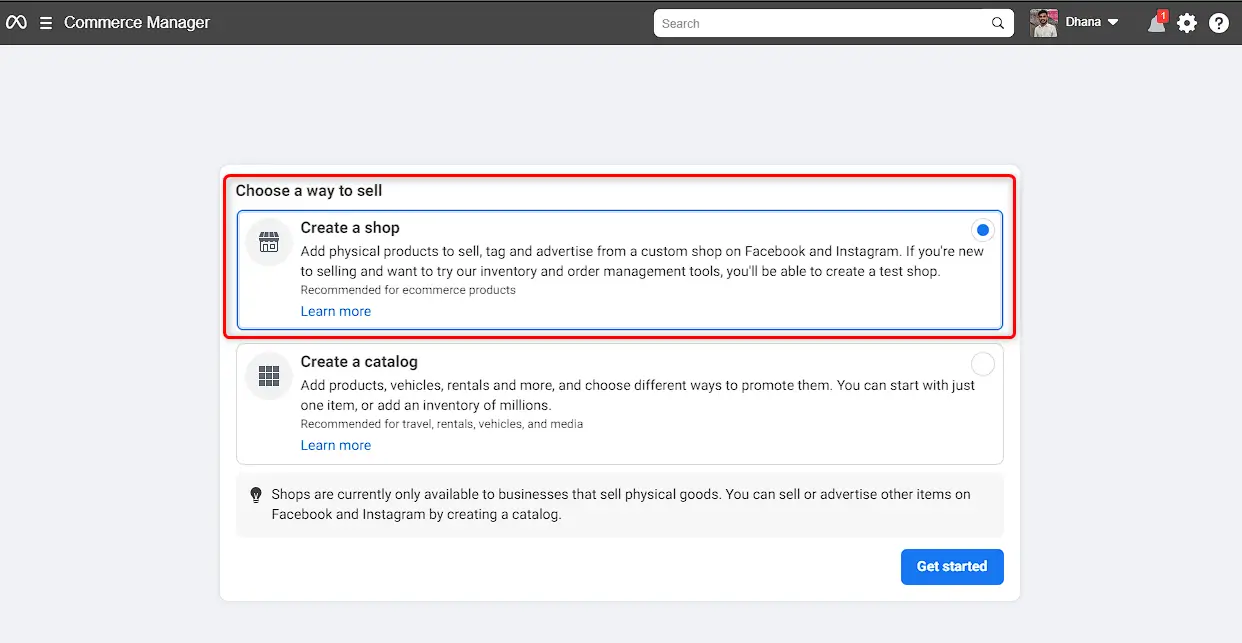
Inside the Commerce Manager, go to the "Shops" section. Click on "Create a shop" and choose the Facebook Page you want to link to your shop. Select the currency for your shop and click "Next."
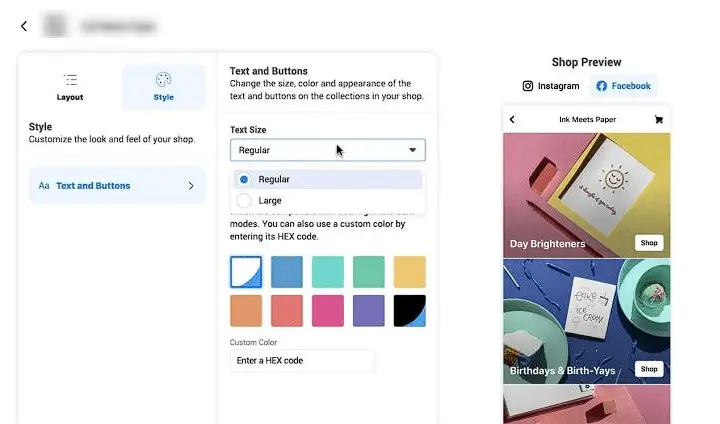
Step 5: Customize your Facebook Shop
Give your shop a name and write a description that clearly represents your business and products. Upload a profile picture and cover photo that reflect your brand. Set up your shop settings, including shipping and return policies.
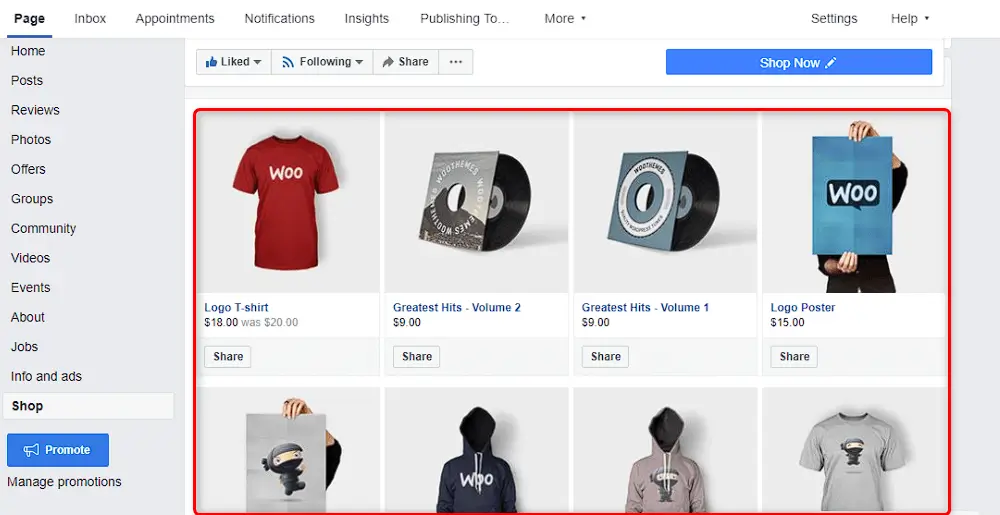
Step 6: Add products to your shop
Click on the "Add Products" button in the Commerce Manager. Fill in the details for each product, like title, description, price, images, and other relevant information. Organize your products into collections to make it easier for customers to navigate your shop.
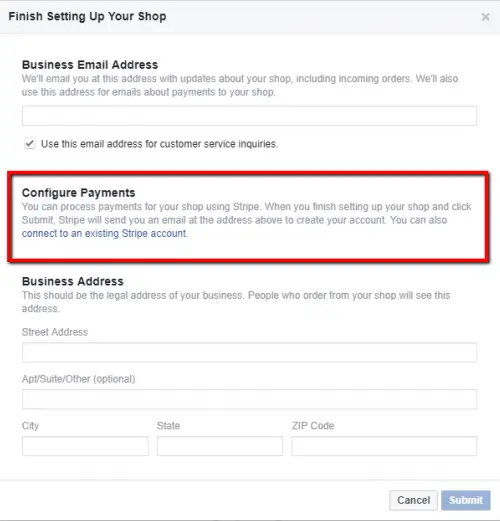
Step 7: Configure payment and shipping settings
In the Commerce Manager, go to the "Settings" section. Set up payment methods to receive payments from customers. You can use platforms like Shopify or Facebook's own payment system. Customize your shipping options and rates based on your business needs.
Step 8: Choose checkout options
Decide whether you want customers to complete purchases on Facebook or redirect them to an external website. Adjust the checkout settings accordingly.
Step 9: Publish your Facebook Shop
Once you've added products, customized settings, and configured payment and shipping options, double-check everything for accuracy. Click the "Publish" button to make your Facebook Shop live.
Step 10: Promote your products and manage orders
Utilize Facebook's advertising tools to promote your products and reach a wider audience. Keep an eye on your shop's performance, manage orders, respond to customer inquiries, and provide excellent customer service. Regularly update and optimize your Facebook Shop by adding new products, refreshing content, and adapting to customer feedback to improve the shopping experience and boost sales.
