How to bulk create Facebook store pages for your multi-location business
Learn the simple step-by-step guide to creating bulk Facebook pages for your multi-location business.
Whether you own a chain of restaurants or a mortgage company with multiple branches, your multi-location business requires special digital marketing outreach if you want people to find you online and pinpoint the most convenient place to visit you in the real world. One key promotional technique is to upload all relevant Store Locations to your Ads Manager on Facebook.
This process is incredibly easy and well worth your time. Just be sure that you have “admin” or “editor” authorization for your main Facebook page and that you have structured that page in the Store Pages format.
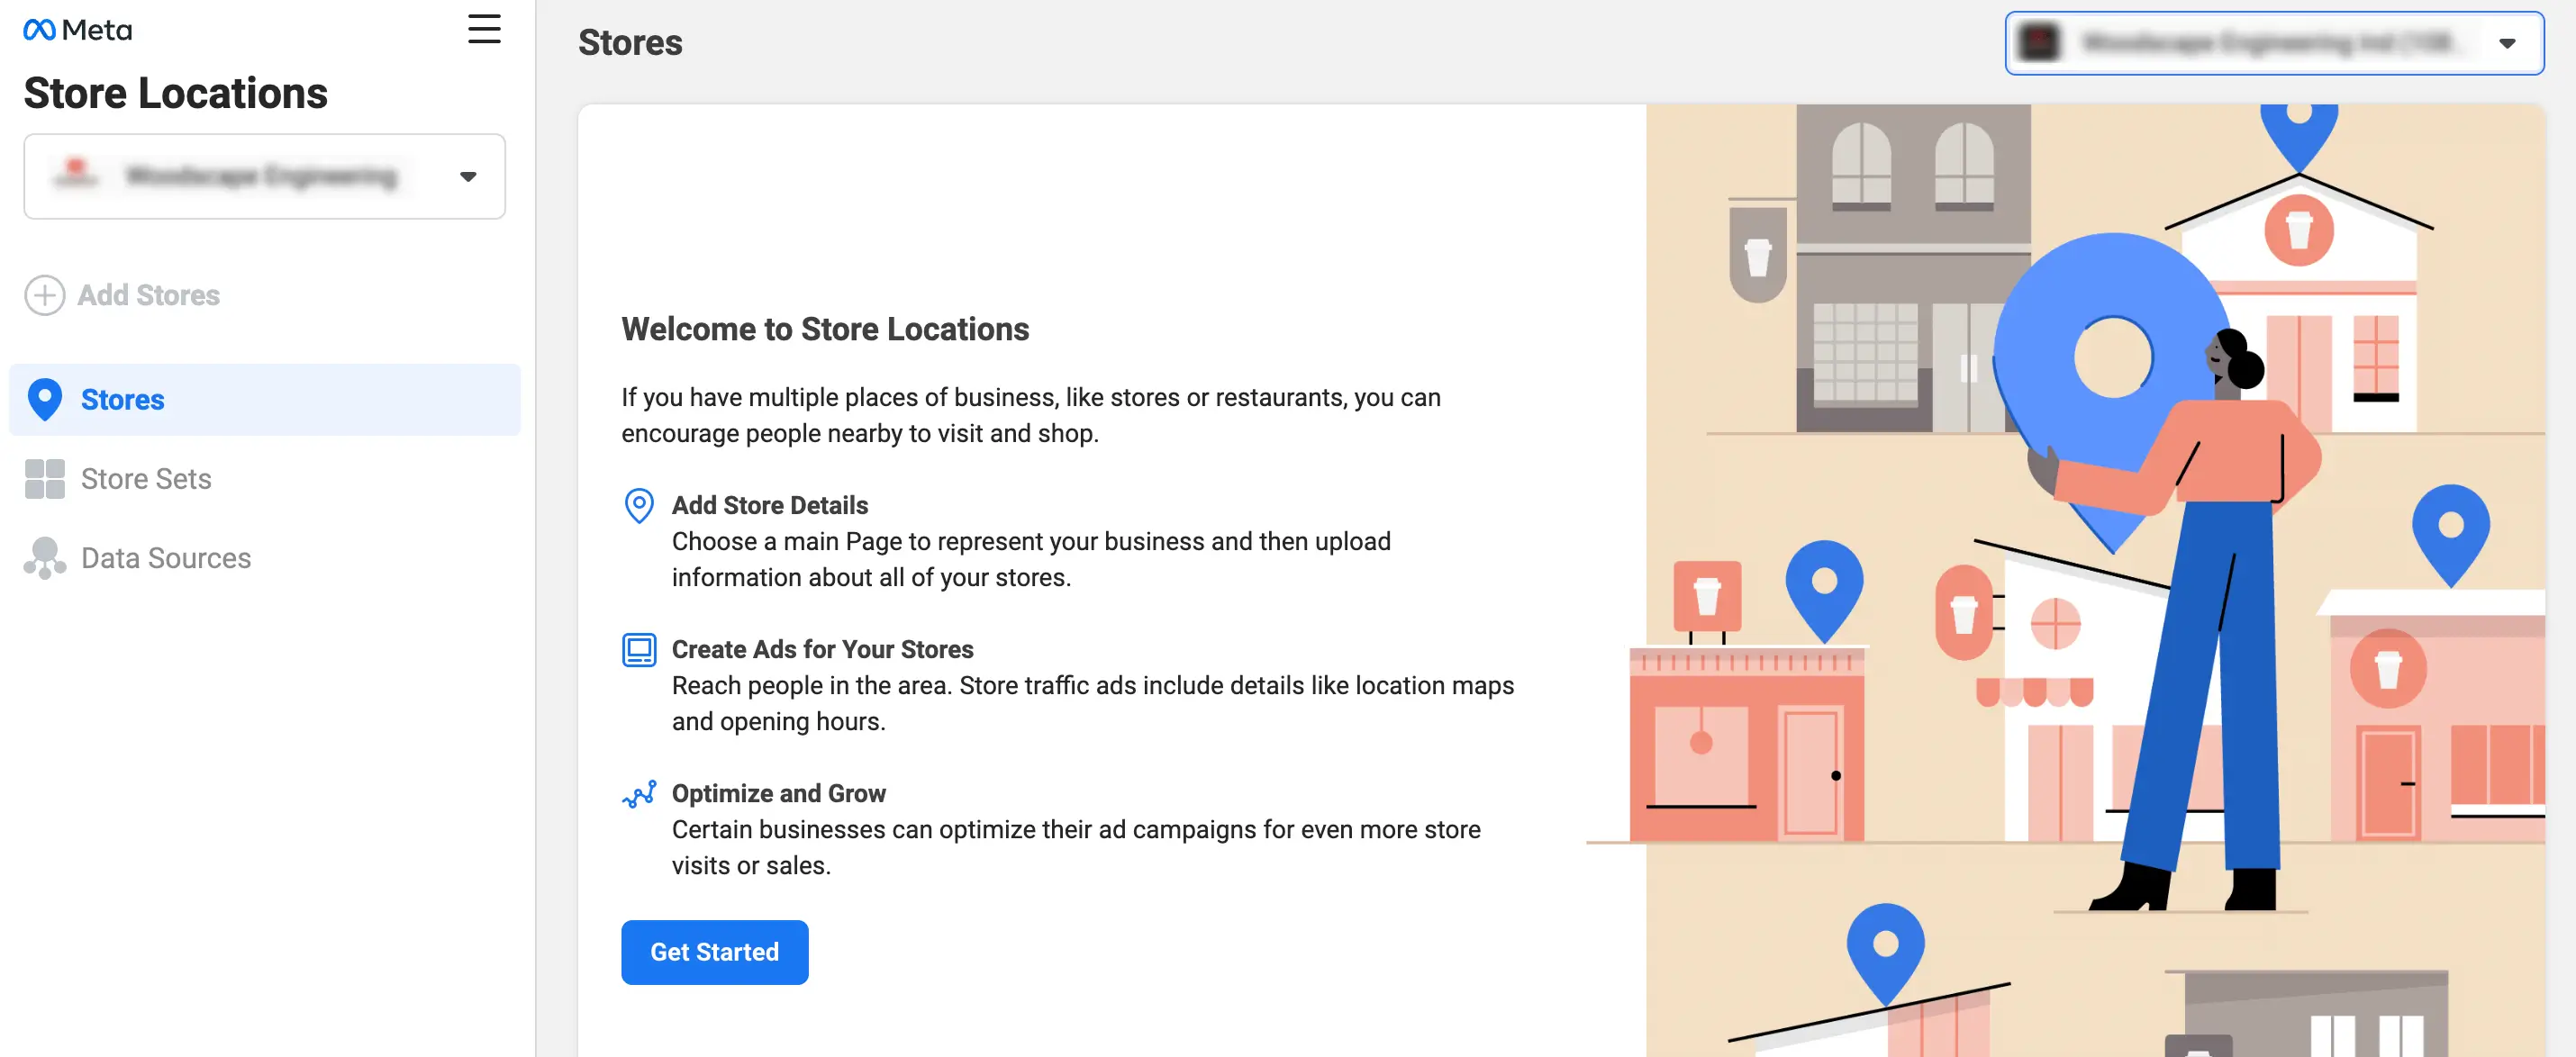
Step 1: Log in to your Facebook account, find the Business Manager section, and open Store Locations.
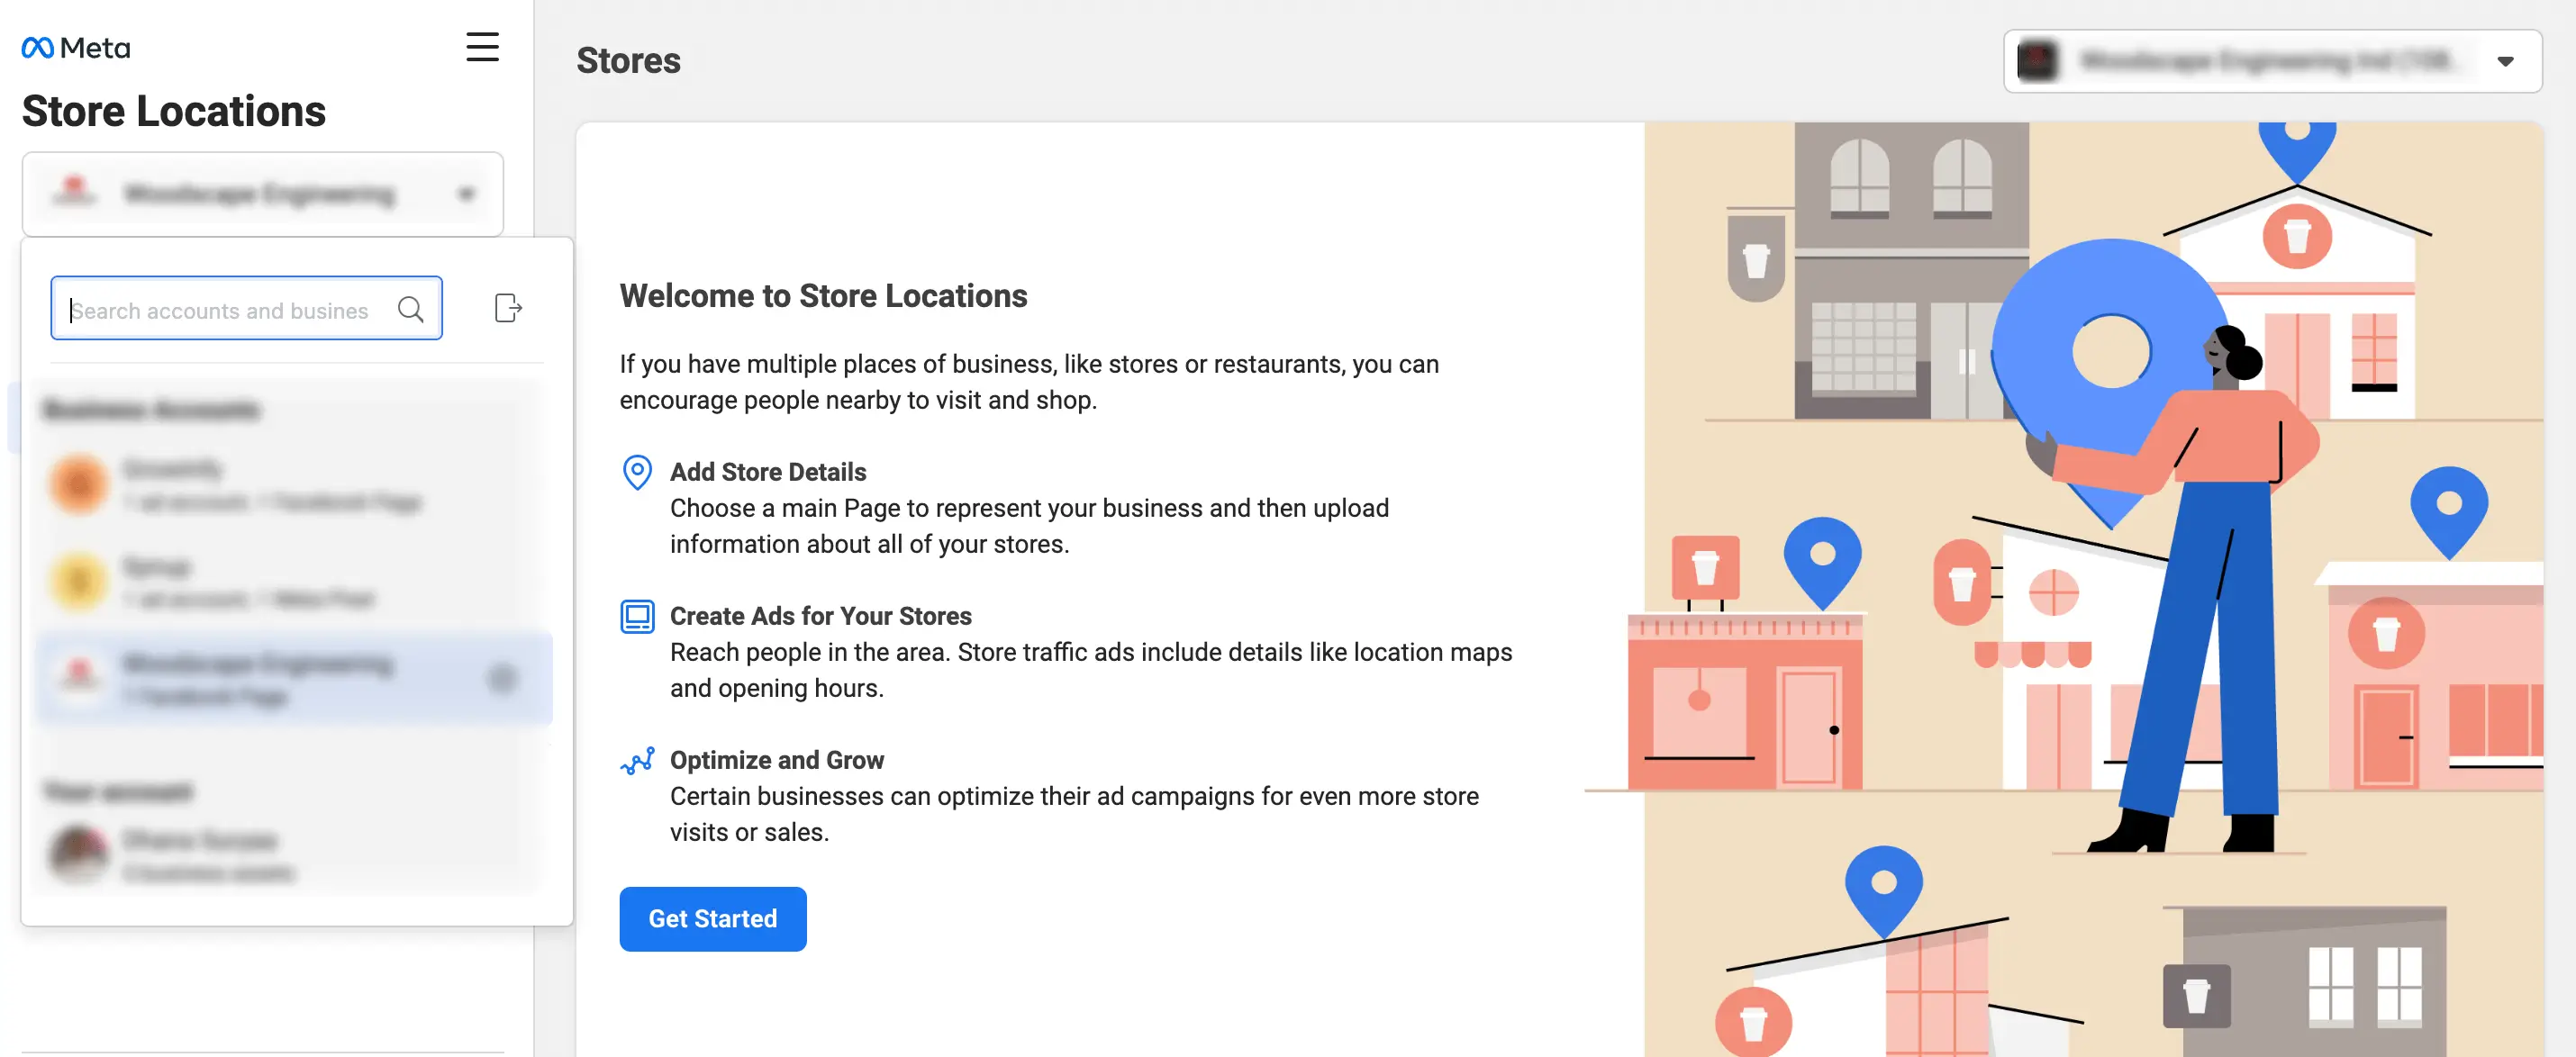
Step 2: Click on the top menu to select the Page on which you want to add one or more business locations.
Step 3: Find Manage Your Store Details and click + Add Stores.
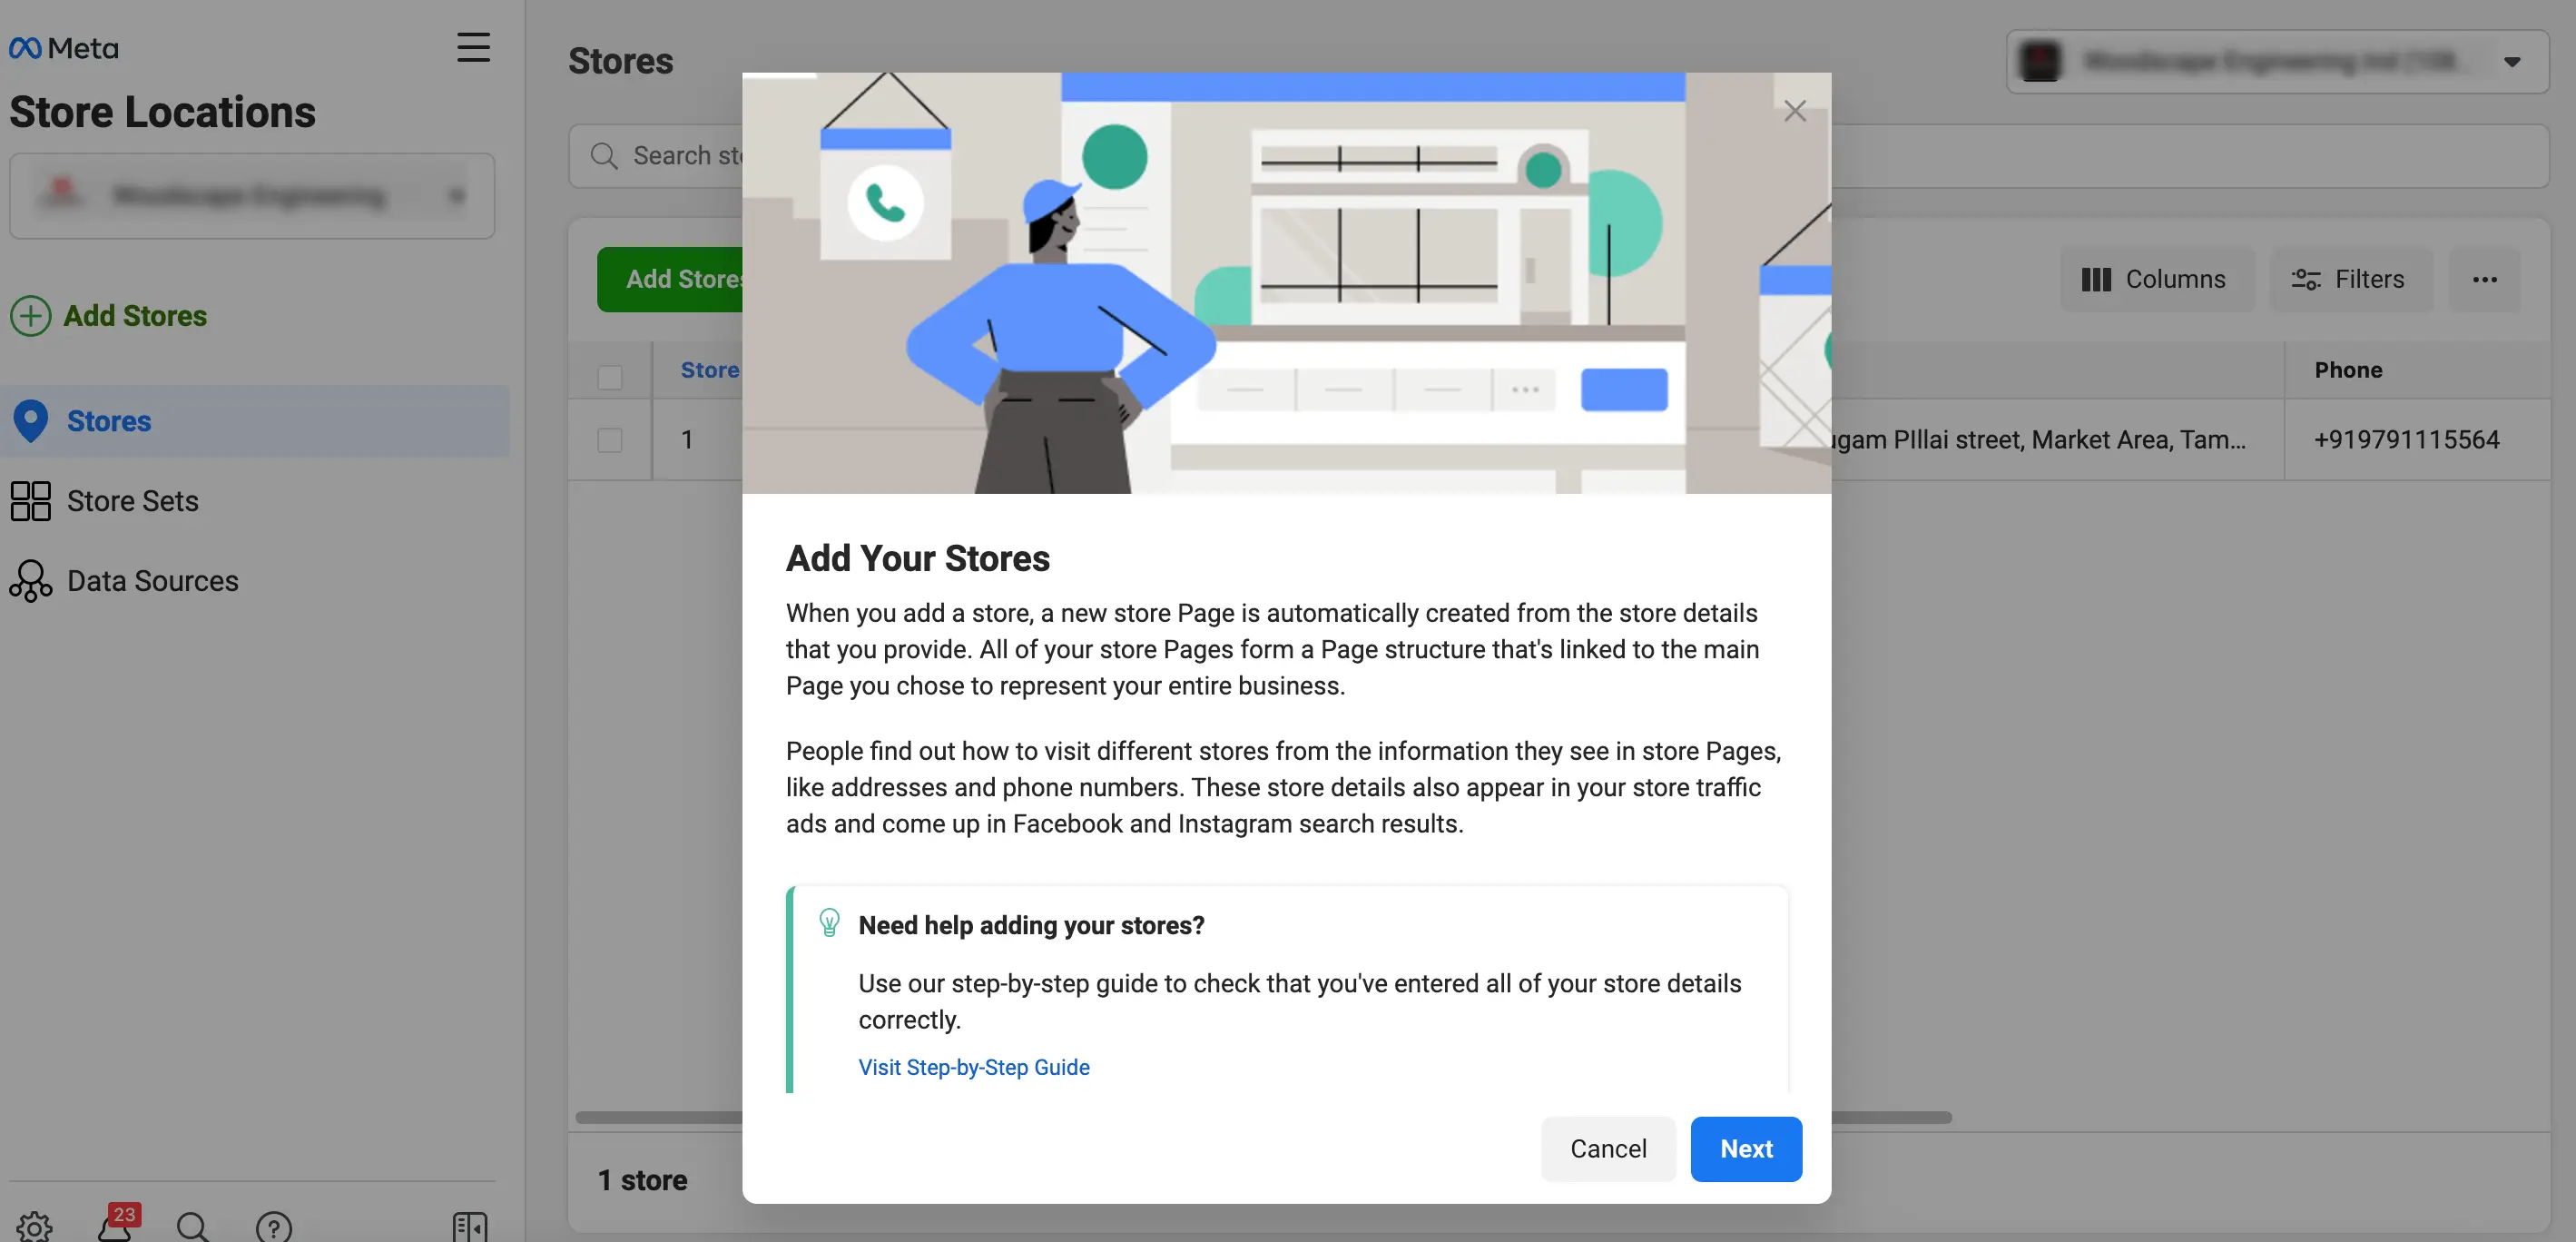
Step 4: Use one of the following approaches to create a new store Page for each of your business locations. These Page will feature details that are location specific.
- Add Manually – If you want to make a new store Page for fewer than around 10 business locations, you may want to add each store and address manually. You can accomplish this directly through the Facebook platform.
- Add Multiple Stores – If you want to make a new store Page for more than around 10 business locations, you may want to use a spreadsheet template that allows you to add multiple stores simultaneously.
- Connect a Page – Do you already have independent Pages for some of your business locations? You can click Connect a Page to connect them to your main Page and import their unique store details.
- Connect via API – Do you have a significant experience as a website developer? You can automatically create Pages and add unique store details by using the application programming interface (API).

Step 5: When you have created all your new store Pages, you can click on Download Stores to produce an Excel spreadsheet of your Store Locations for reference.